Are there any friends like me who love the crispy outside and soft inside texture of ciabata, but feel overwhelmed by the thought of making bread? Don’t worry, today I’ll teach you how to make ciabata in an air fryer. It’s super easy, even for those with no cooking skills, and the chance of failure is practically zero. All the ingredients are available in supermarkets, and the steps are so simple you won’t remember them all. Let’s break it down step by step in plain language.How to clean the air fryer basket/grip?
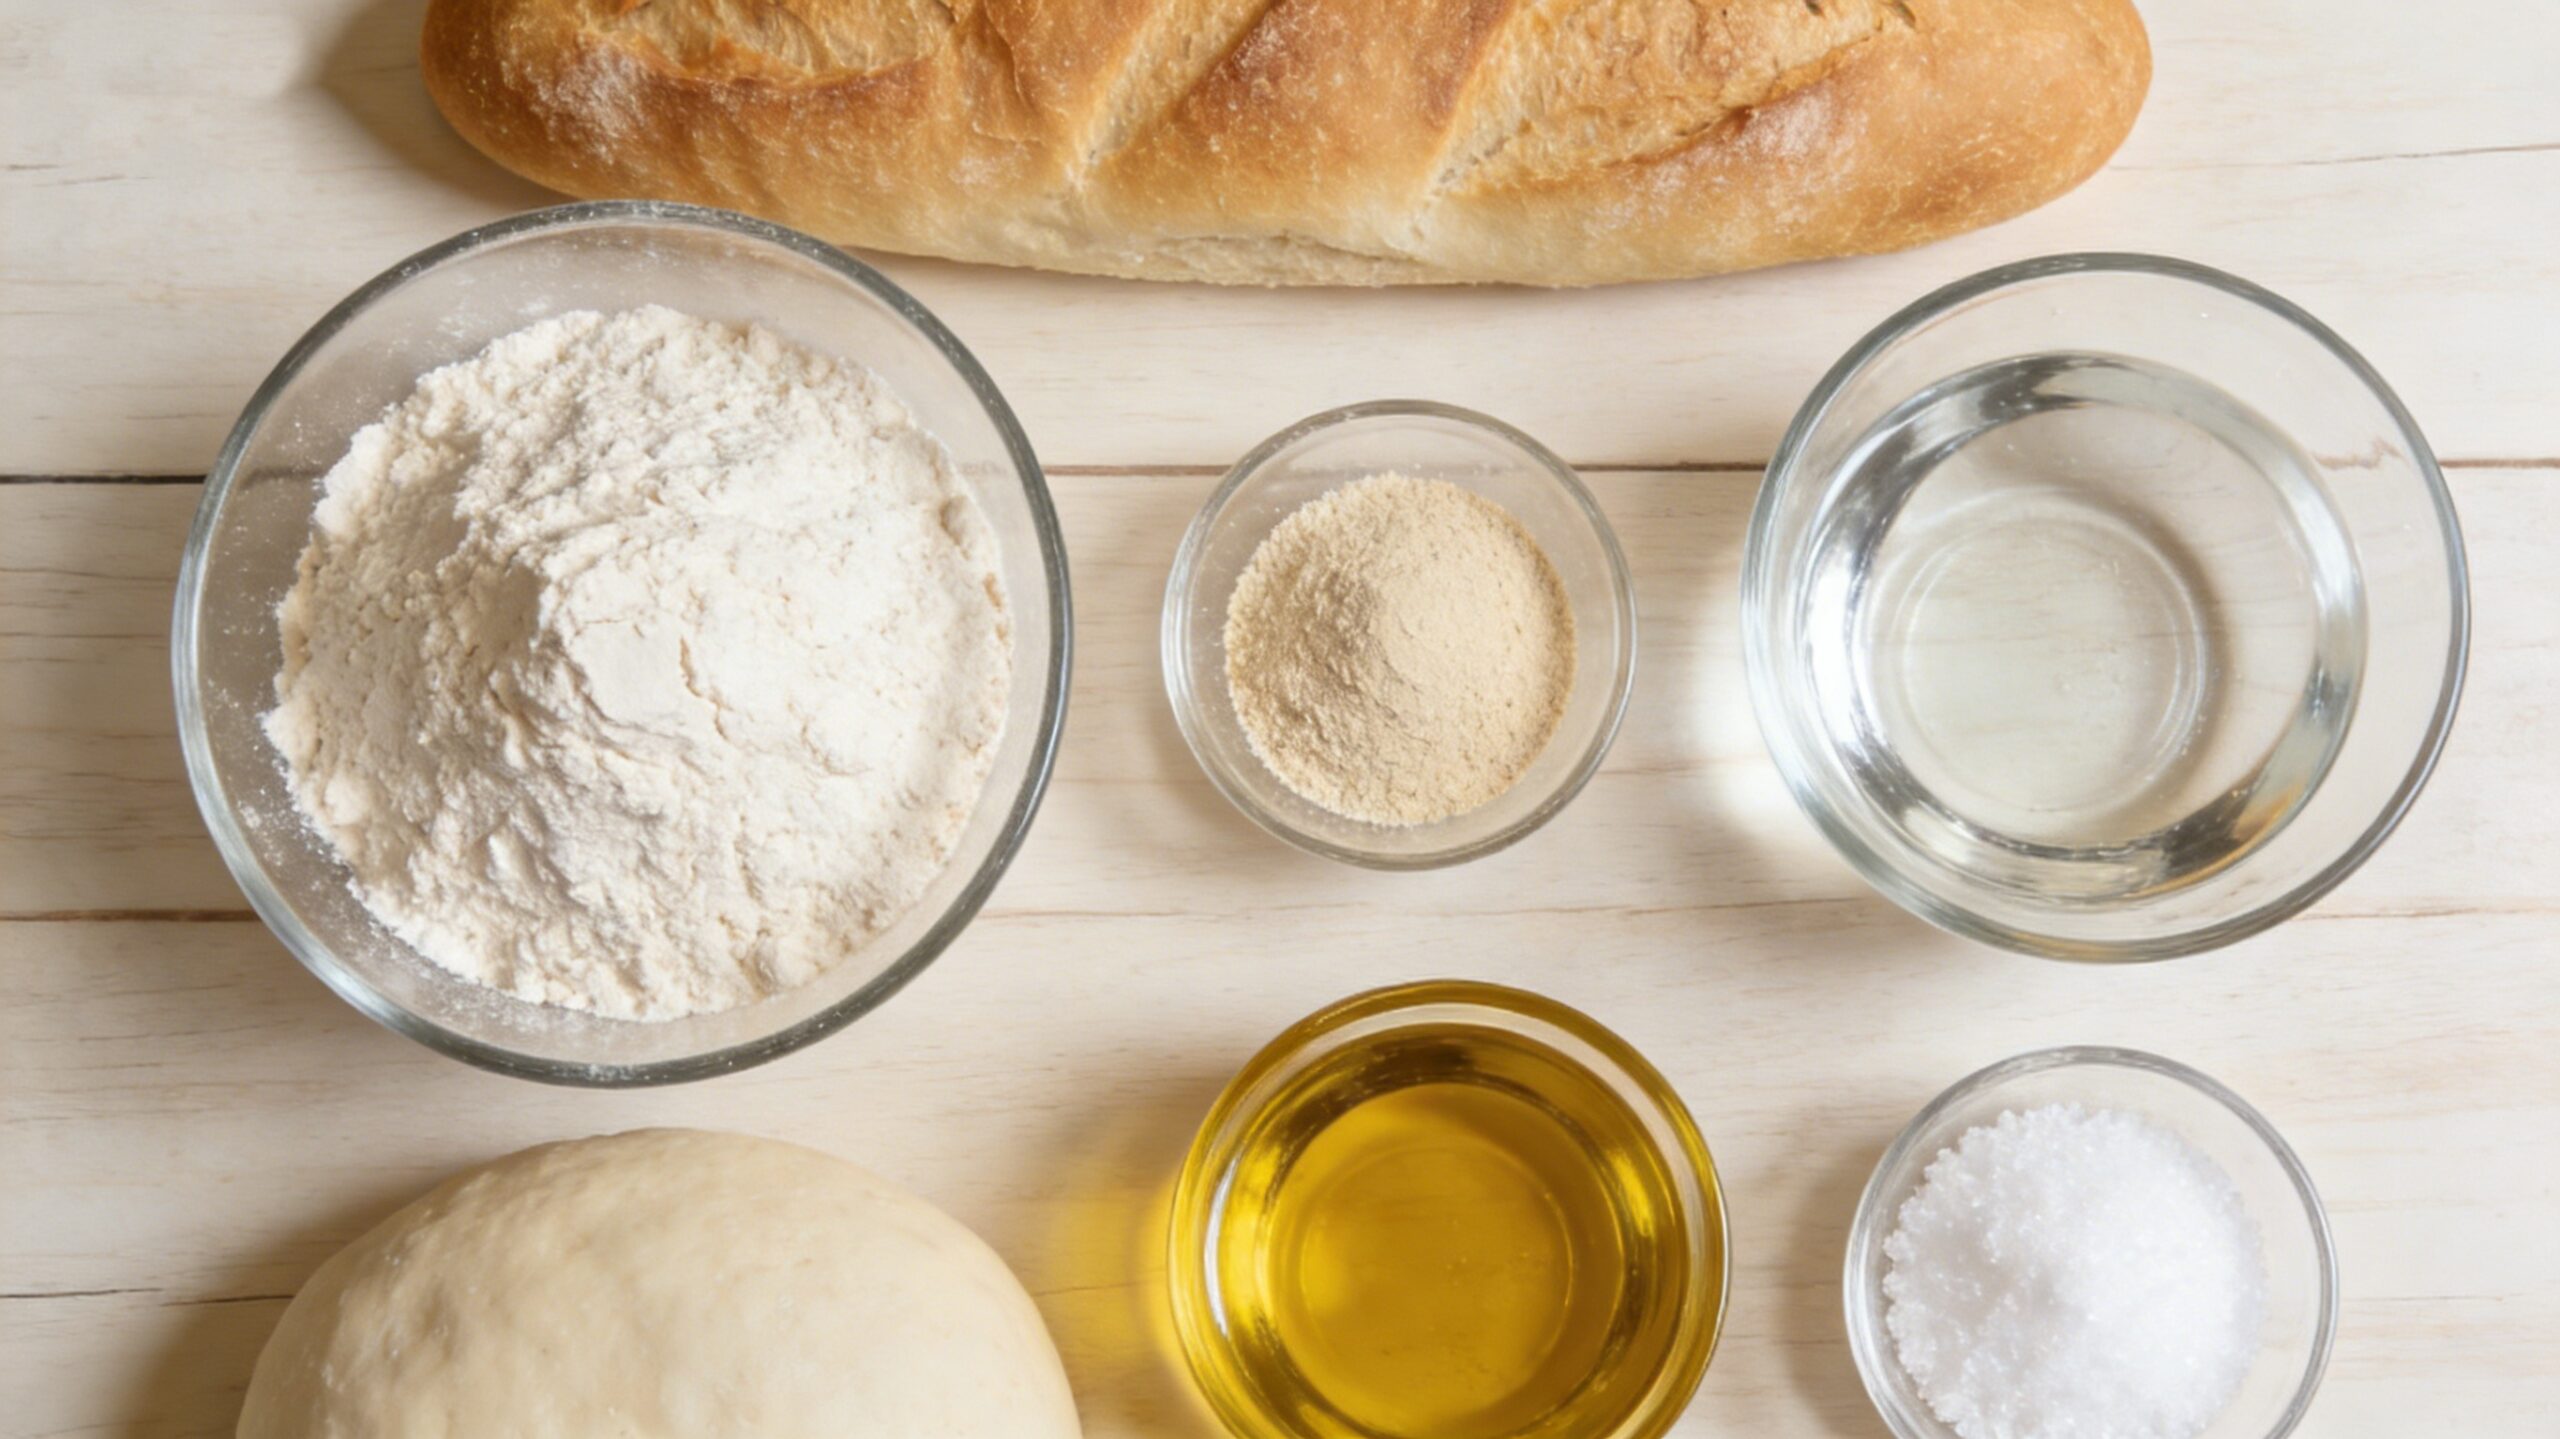
First, prepare the ingredients. Don’t be as precise as when making a cake; just have the approximate amounts. It’s very laid-back. 250g of high-gluten flour (the kind used for bread making, not dumpling flour); 180ml of warm water (it should feel cool to the touch; don’t use boiling water, it will ruin the dough); 2g of yeast (a small spoonful; don’t use expired yeast, it won’t rise, a complete waste of effort); 3g of salt (for flavor, a little is fine); 20ml of olive oil (if you don’t have olive oil, regular cooking oil will do, but don’t use sesame oil, the flavor is too strong).Air-fry ribs for a crispy exterior and tender interior
–
no mistakes!
Step 1: Kneading the dough. Pour the flour, salt, and yeast into a large bowl and stir well with chopsticks. Make sure the salt and yeast don’t stick together, otherwise the yeast will stop working. Then slowly pour in warm water, stirring with chopsticks as you pour, until it forms clumps of dough. Then knead by hand. It doesn’t need to be perfectly smooth; just knead until the dough clumps are together and there’s no dry flour. Knead for two or three minutes, which is much easier than kneading dough for steamed buns.
Step 2: Fermentation. Cover the bowl with plastic wrap or a damp towel and place it in a warm place, such as under the sun on a balcony or near a kitchen heater. It will ferment to double its size, which takes about 1.5 to 2 hours. It’s easy to tell if it’s fermented enough: poke it with your finger. If it doesn’t spring back or collapse, it’s done. If it springs back immediately, it hasn’t fermented enough; wait a little longer. If it collapses immediately, it’s over-fermented, but it’s still usable, so don’t throw it away.How Long Should You Marinate Chicken Legs in an Air Fryer?
Take the risen dough out, no need to knead, place it directly on a floured work surface, and gently press it into a rectangle about 1 cm thick. Don’t press it too thin, or it will be hard after baking. Then, use a knife or scraper to cut it into 2 to 3 pieces, the size depending on the capacity of your air fryer; don’t make them too big, or they won’t fit.
The third step is the second proofing. Place the cut dough pieces on a plate lined with parchment paper, cover with a damp towel, and let them rest for 20 minutes. Don’t skip this step, otherwise the ciabatta won’t be soft enough, like eating a hard biscuit. While it’s resting, preheat the air fryer to 180 degrees Celsius for 5 minutes, just like preheating an oven. Proper preheating ensures a crispy result.
After preheating, place the dough pieces, along with the parchment paper, into the air fryer. You can brush a thin layer of oil on the surface and sprinkle some flour; this will make them more golden brown and crispier. Then bake at 180 degrees Celsius for 12 to 15 minutes, checking occasionally. If the surface has turned golden brown and hardened, it’s almost done. Don’t bake it for too long, or it will burn.
Immediately remove the baked chapatitas from the oven and let them cool on a cutting board for three to five minutes. Don’t break them immediately after baking; the heat inside will prevent them from dissipating, making them soft and soggy. Let them cool slightly before breaking them, and the crispy exterior and soft interior will immediately appear. One bite reveals a slightly chewy exterior and a porous interior, becoming more fragrant with each chew—even better than store-bought ones!
If you want to add flavor, you can add raisins, chopped walnuts, or sprinkle sesame seeds while kneading the dough. They’ll taste delicious no matter how you eat them. Also, a word of caution: air fryer brands may have slightly different temperatures. If it’s your first time making them, check on them frequently to avoid burning. Also, if the weather is cold, wait a little longer while the dough is fermenting. Don’t rush it; good things come to those who wait.
See? Making chapatitas in an air fryer is incredibly easy! No complicated tools or advanced skills are needed; just spend some time letting the bread ferment, and you can enjoy delicious bread. Bake two in the morning, add some eggs and ham, and you have a perfect breakfast—much more convenient than buying it outside, and it’s also cleaner and more hygienic.